
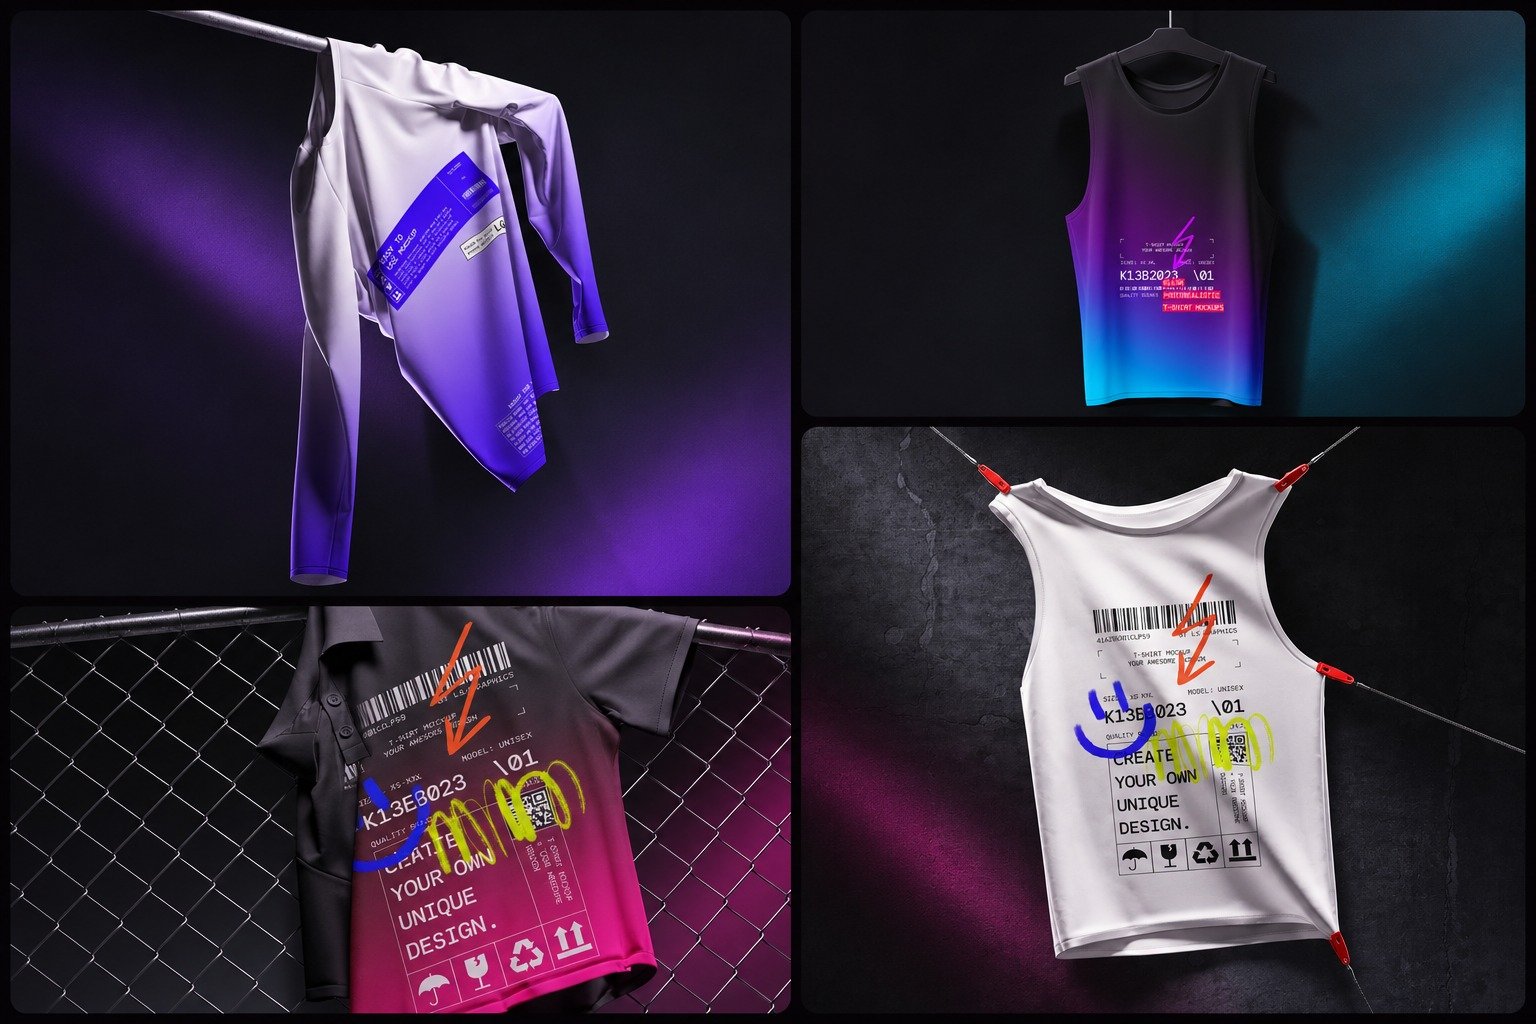
A good graphic needs a convincing garment presentation. If the print sits too close to the collar, ignores a fold or appears on the wrong shirt shape, clients may struggle to judge the design.
Professional t-shirt mockups bring fit, fabric, print placement and lighting into the same image. Start by matching the garment, then choose the views that help someone assess the collection.
How Do I Choose a T-Shirt Mockup That Matches My Garment’s Fit, Fabric Weight, and Proportions?
Compare the mockup blank with your garment reference or supplier’s photographs. Look at shoulder width, sleeve length, collar shape, body length and the proportions between chest and hem.
For an oversized collection, check the dropped shoulders and wider body. A slim-fit blank changes how a large back graphic appears and may give the wrong impression of the product.
The fabric should look appropriate, too. Heavy cotton generally forms broader, more structured folds, while lightweight jersey drapes more softly. Recoloring will not correct an unsuitable silhouette or material.
Before choosing a set, confirm that it includes the front, back and detail views you need.
How Can I Prevent My Artwork From Looking Flat or Pasted On in a T-Shirt Mockup?
Start with clean artwork. Use a transparent background where appropriate and remove unintended margins so you can position the design accurately.
Check how the print interacts with three parts of the scene:
- Surface: Artwork should follow the garment’s perspective, curvature and folds. Lines crossing a deep wrinkle should change shape with it.
- Light: Shadows and highlights should remain convincing across the printed area. An evenly lit graphic on shaded fabric can look detached.
- Material: Match the finish to the intended print. An opaque screen print and a distressed graphic need different treatments.
In PSD t-shirt mockups, Smart Objects make artwork replacement easier. Depending on the file, displacement, masks and lighting layers help the design follow wrinkles and sit within the scene.
Lowering opacity to expose fabric texture can make a solid print look translucent. Check both the full-size image and the final presentation crop. If the artwork looks melted, reduce the distortion.
Set Print Size Before Styling the Scene
Use physical dimensions to establish scale. In a straight-on view, a 28 cm graphic on a flat garment measuring 56 cm across should occupy roughly half its width. Folds and perspective will affect the visible result.
Use the center neckline as a consistent reference for vertical placement and alignment. Keep the collar gap the same across colorways. For sleeve artwork, choose a dedicated view with enough visible fabric to show the placement clearly.
Should I Use Flat-Lay, Hanging, or On-Model T-Shirt Mockups for a Clothing Brand Presentation?

Choose each view for the decision it supports.
| Scene | Best use | What to check |
| Flat-lay | Comparing graphics, colorways and placement | Folds leave important artwork visible |
| Hanging | Brand decks and editorial layouts | Drape keeps the silhouette clear |
| On-model | Showing fit, graphic scale and styling | The blank resembles the intended garment |
A clear front, matching back and on-model image give clients several useful ways to assess a design. Add a close-up when print detail matters. Folded tees can support the presentation, but they rarely show a large graphic clearly enough on their own.
Keep Front, Back, and Sleeve Views Consistent
Use a coordinated set where possible. Compare collars, sleeves, fabric texture and garment color across the available angles.
Keep lighting and color grading compatible. A charcoal front paired with a jet-black back can suggest two different products. Give neck branding and sleeve prints their own detail views when they need approval.
Where Can I Create and Customize a Realistic T-Shirt Mockup Online Without Photoshop?
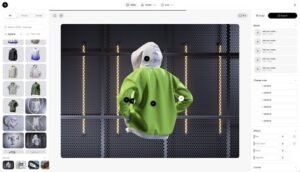
An online t-shirt mockup generator is useful for replacing artwork and comparing variations. Select a scene, upload the design, adjust the available placement controls and check the result before exporting.
The browser-based mockup generator by ls.graphics is one option. Look at the selected apparel scene’s views and controls to see whether they cover your brief.
For manual adjustments to masks, lighting and fabric interaction, consider a layered PSD. You will need Photoshop or a compatible editor that supports the template’s features, along with time to refine the result.
You can also start a mockup t-shirt search in the LS Graphics free collection. Check each resource’s format, editable elements and available views before choosing a workflow.
Check Black, White, and Colored T-Shirts Separately
A black t-shirt mockup needs enough tonal variation to reveal sleeves, seams and folds while keeping the garment visibly black. Check whether dark artwork remains readable.
White tees need soft shadows and fabric detail. A uniformly white body can lose its shape and look like a cutout.
Review every colorway, especially pale graphics on dark fabric. When recoloring, preserve the highlights, shadows and texture that describe the garment. Use production samples to confirm actual fabric and ink colors.
How Can I Create Consistent T-Shirt Mockups in Bulk for Multiple Designs and Colorways?
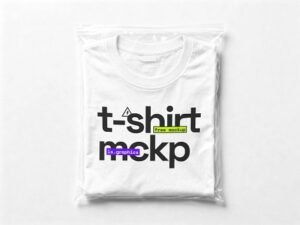
Approve a master scene first. Fix the garment, crop, lighting and print position, then duplicate that setup for the remaining designs.
Scale each graphic to its intended physical size. A small chest logo should retain its proportions beside a full-width illustration.
Name exports by design, garment color and view. Review them together as a thumbnail grid to catch shifted prints, inconsistent colors and missing angles.
Build a Clothing Brand Presentation
Arrange the images in an order that supports approval: a hero image, front and back views, print details, then a lifestyle scene or alternate colorway.
Keep backgrounds, crops and branding scale consistent. Label colorways and separate proposed details from confirmed specifications. For Shopify or Etsy listings, check the crop and artwork readability at thumbnail size.
Mockups support concept reviews and collection planning before a photoshoot. Once samples are available, photograph the actual garments to show their fit, material and construction.
Conclusion
Match the blank to the product, establish print size and placement, then refine the interaction between artwork, folds and light. A small set of consistent, readable views helps clients assess the collection and give more precise feedback.
Give each image a clear purpose: show the fit, explain a print detail or compare colorways. Before sharing the presentation, review the images together to catch differences in scale, placement and garment color that could distract from the design.








Leave a Reply